Making Your Own Kindle E-book (mobi style!)
Let's picture this, you just received a new Kindle Paperwhite, and you are already imagining the future productive self - making statements like 'I will read 100 books this year (quarter)'. Then you realize you cannot find that particular book on Amazon (or you know, maybe you just hate the formatting from that publisher or something)...
Pardon my poor example, but once in a while, have you wondered that it might be wonderful if we can just make our own version of the E-book? I know it has occurred to me. And after a few digging on the Internet, I can now make my own E-book for Kindle!
Here is how I did it:
Setup
I am using macOS so this tutorial should work perfectly on *nix systems. Although I think most of the things I did can be ported to Windows fairly easily as well.
Obviously, you will first need the 'source' file (usually in .txt format).
For software, you will need to install calibre. Though for a power user like yourself, I suppose you already have that in your system. Also, when editing the 'source' file, I usually use VS Code since it supports regex search. Sublime Text also supports that so if that's your thing.
A bit complex scenario
For this section I am going to suppose a scenario where we have multiple .txt files. This happens usually when the book is cut into chunks by chapters. If you don't have this problem just jump to the next section.
Let's suppose we have 4 folders, each has a bunch of .txt files in it and all using numerical filename:
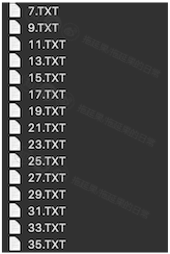
In this case, usually it means our (sample) book has 4 volumes (since 4 folders).
We can use the following shell script one-liner to merge all those files (chapters) into one (volume) and we do it for all 4 folders:
for file in `ls | sort -n`; do cat ${file} >> volume_ONE.txt; done
# repeat for TWO THREE and FOUR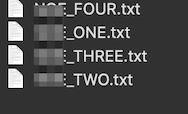
Then we need to merge 4 volumes. Let's first create a YourBookTitle.txt and open it. Put '#Volume 1 title' at the start of this YourBookTitle.txt and then hard return to a new line, save it.
For example, I could have MyTestEBook.txt that looks like:
#Volume 1 - How to make your own mobi E-book?Then run:
cat volume_ONE.txt <(echo '#Volume 2 title') volume_TWO.txt <(echo '#Volume 3 title') volume_THREE.txt <(echo '#Volume 4 title') volume_FOUR.txt >> YourBookTitle.txtN.B. change #Volume 2/3/4 title above to your own book's volume titles.
Now all 4 volumes are in one .txt file with #Volume 1,2,3,4 title at the beginning of each chunk. The YourBookTitle.txt will be our 'source' file.
Operating in 'source' file
This part is mainly for adding markdown header syntax to our source book txt so that when handing to calibre it will recognize chapter headers and distinguish them from the main body.
The way to achieve this is through regular expression.
For example, I have a sample file which chapter name looks like:
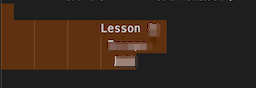
One way to write regex that selects the above title is:
^(\s+|)lesson(\s+)(\d+)(\s+|\n)(.*)(\s+|\n)(\s+)(.*)(\s+|\n)Let me explain:
- ^(\s+|) - any space/tab before word 'lesson'
- (\s+) - any space between 'lesson' and lesson #
- (\d+) - lesson #
- (\s+|\n) - match any space or hard return after lesson #
- (.*) - match English title
- (\s+|\n) - match any space or hard return after English title
- (\s+) - match space before Chinese title
- (.*) - match chinese title
- (\s+|\n) - match any space or hard return after Chinese title
In VS Code, toggle search and select regex mode (found a tutorial by Microsoft here)
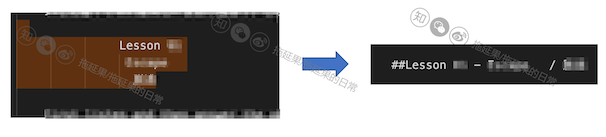
Within the regular expression, input the above code, in the replacement pattern, if I want the chapter title to look like:

I can put:
\n\n##Lesson $3 - $5 / $8\n\nAlso, there exist additional chapter name like 'unit 2' in my sample file, we can use:
unit(\s+)(\d+)\to selet and use:
\n\n##Unit $2\n\nto replace.
The \n is for hard return, I put 2 of them before and 2 of them after so that the output chapter titles are surrounded by 2 blank lines before and after.
It should be noted that this section highly depends on the particular file that you have, usually you do not need to go through this much regex writing.
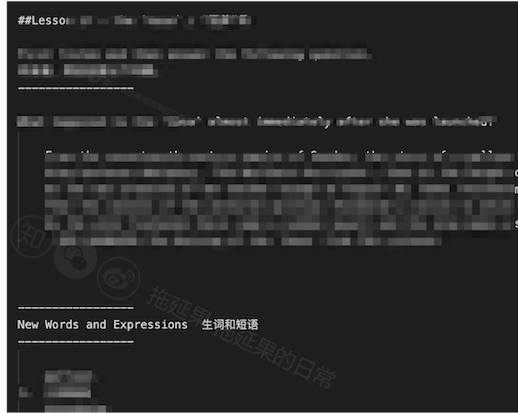
After seatch-and-replace in VS Code, we have:
Notice that there is some spacing after the English title, but this is a minor issue, most titles will look like:

Also, for the sample file I had, there exists a minor inconsistency that needs fixing. As well as some additional lines that I want formatting in another way. Again, most of the source book files do not need to go through this kind of process. You just simply replace the chapter title using something like Chapter(\s+)(\d+) and replace it with ##Chapter $2 and that's it!
Anyway, I went on and wrote some more regex (just to achieve better visual appeal and consistency).
# select with
New(.*)expressions(.*)
# replace with
\n\n-----------------\nNew Words and Expressions $2\n-----------------\n
# --------------
# select with
听录音(.*)(\s+|\n)
# replace with
听录音$1\n-----------------\n\n
# --------------
# select with
参考译文
# replace with
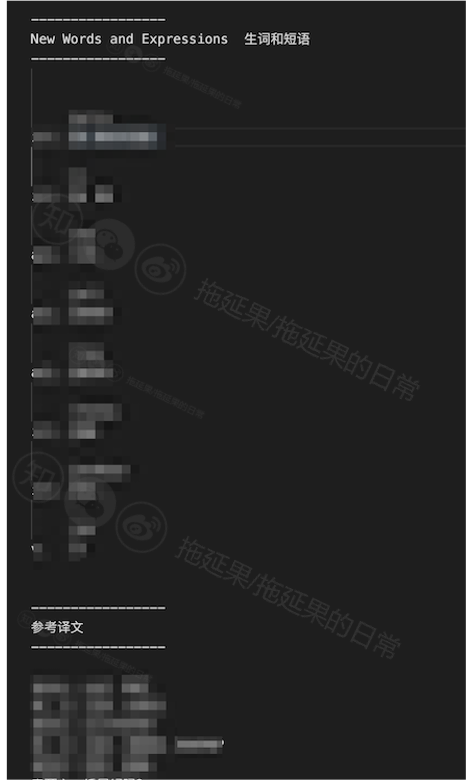
\n-----------------\n参考译文\n-----------------The result looks like:
Moving into calibre
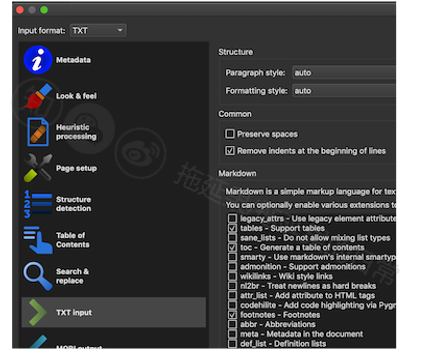
Now we can launch calibre and finally start converting txt to mobi.
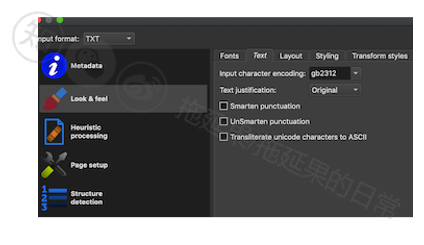
We first edit metadata and generate a nice cover for the book:
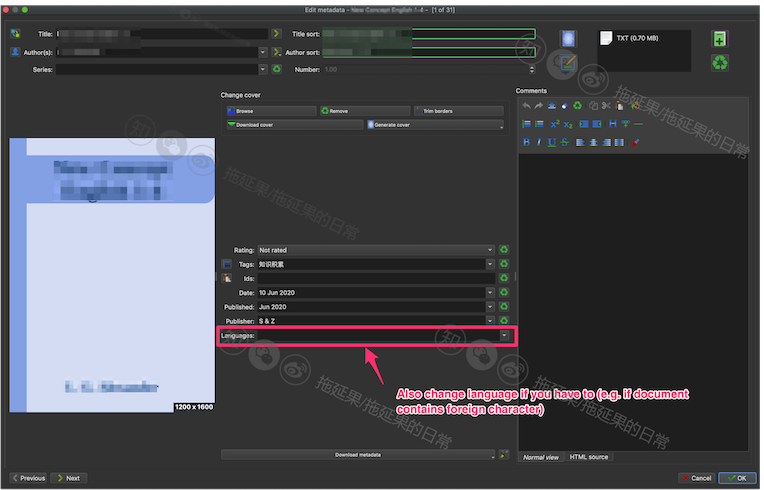
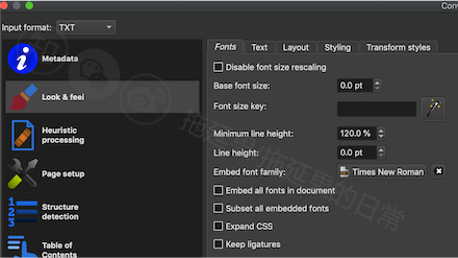
(optional): Change font family to Times New Roman
(optional) Change character encoding to gb2312/gb18030 since there are Chinese characters
Add styling
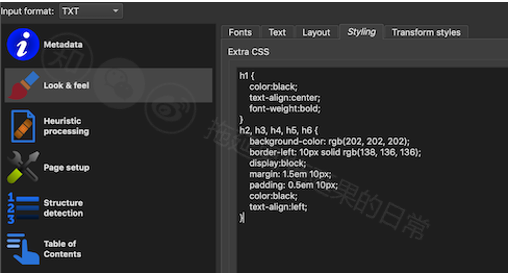
 h1 {
     color:black;
     text-align:center;
     font-weight:bold;
 }
 h2, h3, h4, h5, h6 {
     background-color: rgb(202, 202, 202);
     border-left: 10px solid rgb(138, 136, 136);
     display:block;
     margin: 1.5em 10px;
     padding: 0.5em 10px;
     color:black;
     text-align:left;
 }
(optional) If you did not use any
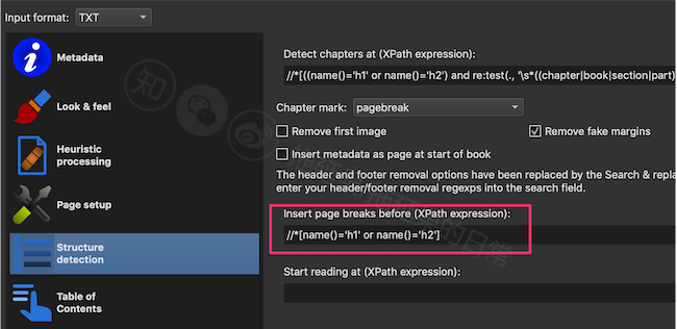
h1in your txt and you usedh2andh3, then need to changeinsert pagebreak beforeitem.
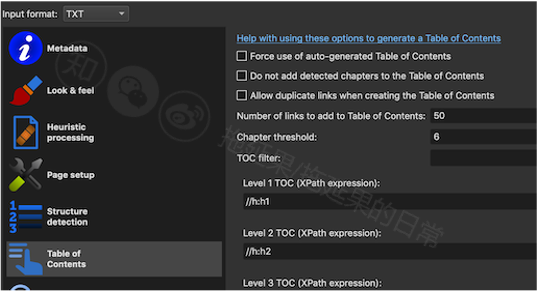
- Table of content settings: add
h1andh2to it. Also same: if you useh2andh3, then change respectively.
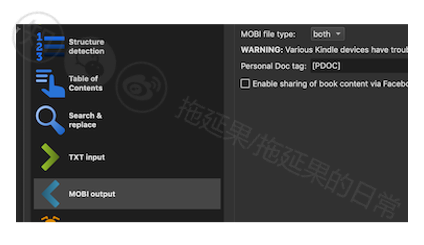
- Mobi output: I am used to choosing
both, but that is just me.
- (optional) Might need to remove indent if your txt structure obstructed the program when generating mobi (this step usually is performed after you found generated E-book looks 'funny').
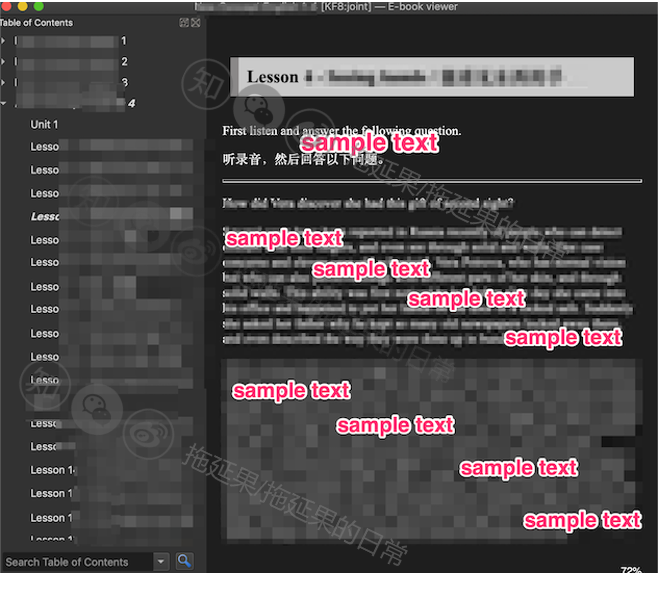
Results
I would say it looks pretty nice:
References
- [1] 如何用calibre整合多个txt文件,合成为一个有目录(目录名为txt名)的mobi文件?
- [2] 如何用calibre制作带章节目录的mobi文件(用于Kindle Paperwhite)?
- [3] 把 TXT 文档转换成带目录的 MOBI 格式电子书
- [4] 用vs code实现正则表达式批量替换内容
- [5] 使用VsCode正则表达式批量替换
- [6] 可以用在 VS Code 中的正则表达式小技巧
- [7] 正则表达式手册
- [8] 正则表达式语法
- [9] Horizontal rule/line beneath each <h1> heading in CSS
- [10] CSS padding margin border属性详解